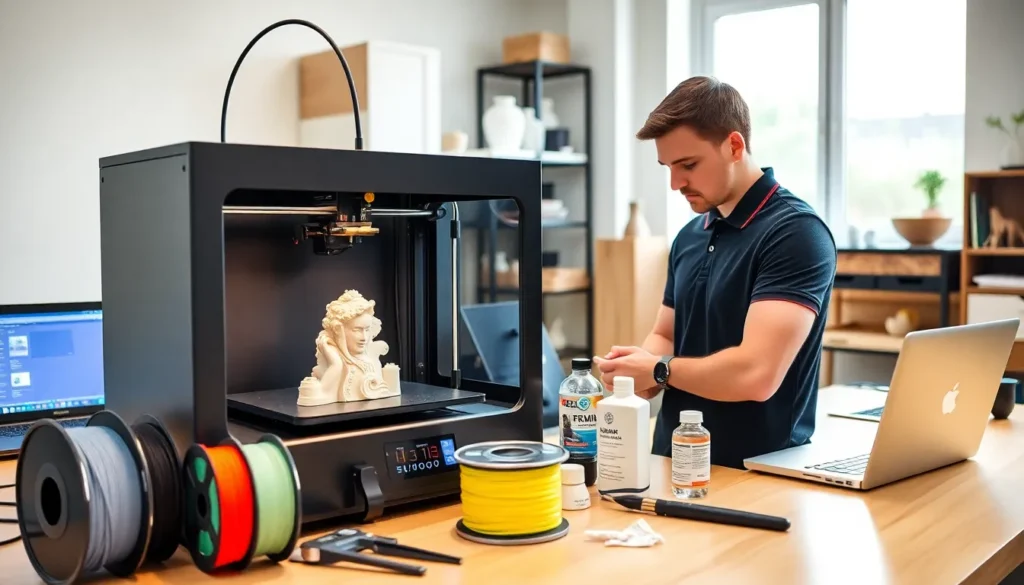

3D printing tips can transform frustrating failed prints into consistent, high-quality results. Whether someone is new to the hobby or has years of experience, small adjustments often make the biggest difference. A perfectly calibrated printer, the right settings, and proper material selection all contribute to success.
This guide covers practical techniques that work. From printer preparation to troubleshooting common issues, these 3D printing tips address the problems makers actually face. No theory-heavy explanations here, just actionable advice that leads to better prints.
Table of Contents
ToggleKey Takeaways
- Proper bed leveling and cleaning are essential 3D printing tips that prevent adhesion failures and wasted filament.
- Layer height and print speed directly affect quality—use 0.12mm layers for detail or 0.2-0.28mm for faster functional prints.
- Each filament type (PLA, PETG, ABS, TPU) requires specific temperature settings and storage conditions for optimal results.
- First layer success depends on proper Z-offset, slower speeds (20-30mm/s), and appropriate adhesion methods like brims or glue stick.
- Common issues like stringing, layer shifting, and warping can be fixed by adjusting retraction, belt tension, and using enclosures.
- Store filament in sealed containers with desiccant to prevent moisture absorption that causes bubbling and weak prints.
Prepare Your Printer for Optimal Performance
A well-maintained printer produces better results. Before starting any print job, users should check several key components.
Level the Bed Properly
Bed leveling remains one of the most critical 3D printing tips. An uneven bed causes poor first-layer adhesion and warping. Most printers include manual leveling with thumb screws, while others offer automatic bed leveling sensors. Either way, checking the level before major prints saves time and filament.
The paper test works well for manual leveling. Slide a piece of standard printer paper between the nozzle and bed at each corner. The paper should move with slight resistance, not too tight, not too loose.
Clean the Build Surface
Oils from fingers, dust, and leftover filament residue all reduce adhesion. Isopropyl alcohol (90% or higher) cleans most build surfaces effectively. Glass beds benefit from this treatment especially. Some makers prefer a quick wipe before every print.
Check Belt Tension and Moving Parts
Loose belts cause layer shifting and dimensional inaccuracy. The belts should feel firm when pressed, they shouldn’t deflect more than a few millimeters. Lubricate linear rails and lead screws periodically with appropriate grease or oil. Dry PTFE lubricant works well for most setups.
These preparation steps take five minutes but prevent hours of troubleshooting later.
Dial In Your Print Settings
Slicer settings control print quality more than any other factor. Understanding these parameters helps users get consistent results.
Layer Height and Speed
Layer height affects both print time and surface quality. For detailed models, 0.12mm layers show fine features well. For functional parts where speed matters more, 0.2mm or 0.28mm layers work fine. The general rule: smaller layers mean longer prints but smoother surfaces.
Print speed interacts with layer height directly. Faster speeds at larger layer heights often work, but detailed prints need slower movement. Most users find 40-60mm/s provides a good balance between quality and time.
Temperature Matters
Every filament has an ideal temperature range. PLA typically prints between 190-220°C, while PETG needs 230-250°C. Testing with temperature towers helps identify the sweet spot for specific brands.
Bed temperature also affects success. PLA sticks well at 50-60°C. PETG prefers 70-80°C. These 3D printing tips about temperature seem basic, but wrong settings cause most failures.
Retraction Settings
Retraction pulls filament back during travel moves to prevent stringing. Direct drive extruders usually need 0.5-2mm retraction distance. Bowden setups require 4-7mm because of the longer filament path. Retraction speed around 25-45mm/s works for most materials.
Choose the Right Filament for Your Project
Material selection determines both print difficulty and final part properties. Each filament type has specific advantages.
PLA remains the easiest material to print. It requires no heated enclosure, sticks to most surfaces, and produces minimal odor. PLA works great for prototypes, decorative items, and low-stress parts. But, it softens around 55°C, not ideal for items left in hot cars.
PETG offers better heat resistance and flexibility than PLA. It prints at higher temperatures and resists moisture better. Food containers and outdoor items benefit from PETG’s durability.
ABS provides excellent heat resistance and impact strength. The trade-off? It warps easily without an enclosure and releases fumes during printing. Proper ventilation is essential.
TPU creates flexible, rubber-like parts. It requires slower print speeds and works best with direct drive extruders. Phone cases and gaskets are common TPU applications.
Storing filament properly extends its life. Moisture absorption causes bubbling, stringing, and weak layer adhesion. Sealed containers with desiccant keep filament dry. Some makers use food dehydrators to dry filament that’s absorbed moisture.
Improve Bed Adhesion and First Layer Quality
The first layer determines whether a print succeeds or fails. These 3D printing tips focus on getting that foundation right.
Use Appropriate Adhesion Methods
Different surfaces need different approaches. Glass beds work well with glue stick or hairspray. PEI sheets provide excellent adhesion without additives for most materials. Textured PEI works better for PETG, which can bond too strongly to smooth surfaces.
Brims add extra material around the base, increasing surface contact area. They help with small parts or prints with minimal bed contact. Rafts create a complete foundation layer, useful for warping-prone materials but waste more filament.
Adjust First Layer Settings
The first layer should be slightly squished against the bed. Most slicers allow first layer height adjustments. Setting this 10-20% lower than standard layers improves adhesion.
Slower first layer speeds also help. Printing the initial layer at 20-30mm/s gives the material time to bond properly. Higher first layer temperatures (5-10°C above normal) can improve adhesion for stubborn materials.
Z-Offset Fine-Tuning
Even with proper bed leveling, the Z-offset may need adjustment. Signs of being too high include filament not sticking or lines not touching. Too low causes the nozzle to drag through the layer. Small adjustments of 0.02-0.05mm make noticeable differences.
Troubleshoot Common Printing Problems
Every 3D printer user encounters issues. Knowing how to identify and fix problems saves significant frustration.
Stringing and Oozing
Thin strings between parts indicate too much filament leaking during travel moves. Increase retraction distance first. If that doesn’t help, lower the print temperature by 5-10°C. Enabling coasting in slicer settings reduces pressure before travel moves.
Layer Shifting
When layers don’t align, the print looks like it’s been sliced and shifted horizontally. Loose belts are the most common cause. Check that pulleys are tight on motor shafts. Printing too fast can also cause motors to skip steps, reducing speed often fixes this.
Under-Extrusion
Gaps in walls and weak infill suggest the extruder isn’t pushing enough filament. A partially clogged nozzle is often responsible. Cold pulls (heating the nozzle, inserting filament, cooling, then pulling) clear many clogs. Worn extruder gears also cause this problem.
Warping
Corners lifting from the bed plague ABS users especially. An enclosure helps maintain consistent temperature. Brims increase adhesion. Sometimes the part design itself needs modification, adding mouse ears (small discs at corners) in the model prevents lifting.
These 3D printing tips for troubleshooting address about 80% of common failures.


