
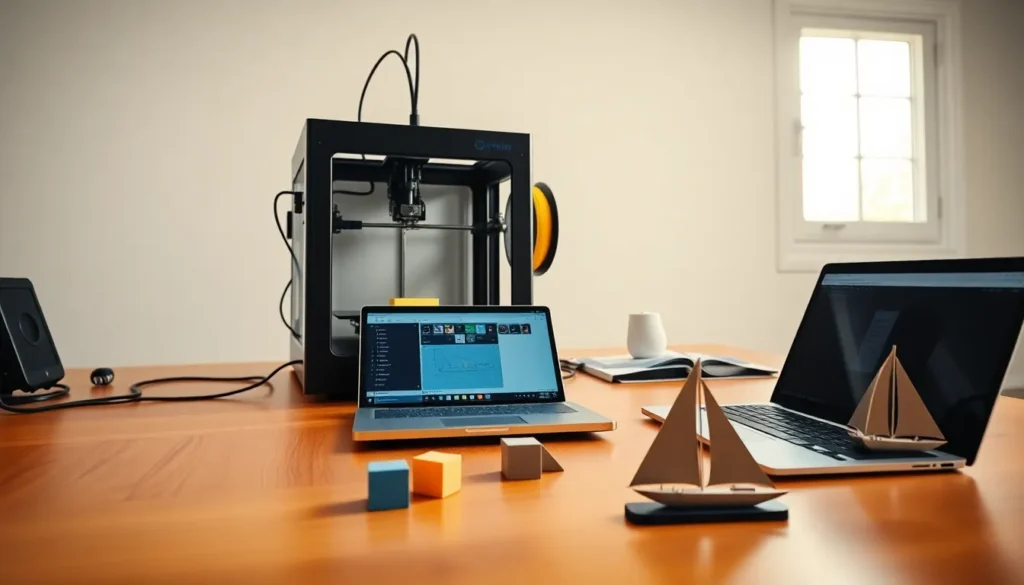

Learning how to 3D printing works opens up a world of creative possibilities. From custom phone cases to replacement parts for broken appliances, this technology puts manufacturing power directly in your hands. The good news? Getting started is easier than most people think.
This guide covers everything a beginner needs to know about 3D printing. It explains the core technology, helps with printer selection, and walks through the first print from start to finish. By the end, readers will have a clear roadmap for launching their 3D printing journey.
Table of Contents
ToggleKey Takeaways
- Learning how to 3D printing works starts with understanding FDM technology, which builds objects layer by layer using heated plastic filament.
- Entry-level printers like the Creality Ender 3 series ($150-$300) offer excellent value and strong community support for beginners.
- PLA filament is the best starting material because it prints at lower temperatures, resists warping, and produces minimal fumes.
- Free slicing software like Cura or PrusaSlicer converts 3D models into printer instructions and is essential for your workflow.
- Mastering bed leveling and first-layer adhesion is critical—if the first layer fails, the entire print usually fails too.
- Start with simple calibration prints before attempting complex projects to learn how 3D printing settings affect your results.
Understanding 3D Printing Technology
3D printing, also called additive manufacturing, builds objects layer by layer from digital files. Think of it like a hot glue gun controlled by a computer. The printer deposits material in precise patterns, stacking thin layers until a complete object forms.
The most common type for beginners is FDM (Fused Deposition Modeling). FDM printers heat plastic filament and push it through a nozzle. The nozzle moves across a build plate, drawing each layer according to instructions from a digital model.
Another popular option is resin printing (SLA or MSLA). These printers use UV light to cure liquid resin into solid layers. Resin prints offer finer detail but require more post-processing and safety precautions.
For those just learning how to 3D printing fits into their projects, FDM offers the best balance of cost, safety, and ease of use. Most hobbyists start here before exploring other technologies.
Choosing Your First 3D Printer
Selecting a first printer can feel overwhelming. Dozens of brands compete for attention, and prices range from $150 to several thousand dollars. Here’s how to narrow down the options.
Budget Considerations
Entry-level FDM printers like the Creality Ender 3 series cost between $150-$300. These machines print well out of the box and have huge online communities for support. Mid-range options ($300-$600) often add features like auto bed leveling and faster print speeds.
Key Features To Look For
- Build volume: Determines the maximum object size. A 220x220x250mm bed handles most beginner projects.
- Heated bed: Essential for printing with ABS and helpful for PLA adhesion.
- Auto bed leveling: Saves time and frustration. Manual leveling works fine but requires more patience.
- Community support: Popular printers have extensive troubleshooting guides, upgrade paths, and user forums.
Top Picks For Beginners
The Creality Ender 3 V3 SE offers excellent value with auto leveling included. The Bambu Lab A1 Mini delivers faster speeds and easier setup at a slightly higher price point. Both teach new users how to 3D printing becomes a reliable skill through hands-on experience.
Essential Materials And Software
Every 3D printing setup needs three things: filament, slicing software, and 3D models.
Filament Types
PLA (Polylactic Acid) is the go-to material for beginners. It prints at lower temperatures, doesn’t warp easily, and produces minimal fumes. PLA comes in countless colors and specialty finishes.
PETG offers better durability and heat resistance than PLA. It’s slightly trickier to print but still beginner-friendly. ABS provides high strength but requires an enclosed printer and good ventilation.
Start with a quality PLA brand like Hatchbox, Overture, or Polymaker. Cheap filament causes more jams and failed prints than it’s worth.
Slicing Software
Slicers convert 3D models into instructions the printer understands. They’re free and essential for learning how to 3D printing workflow operates.
- Cura: Open-source, feature-rich, works with most printers
- PrusaSlicer: Another free option with excellent preset profiles
- Bambu Studio: Optimized for Bambu Lab printers
Finding 3D Models
Websites like Thingiverse, Printables, and MyMiniFactory host millions of free designs. Download STL files and import them directly into the slicer. Eventually, users can create original designs using CAD programs like Fusion 360, TinkerCAD, or Blender.
Setting Up And Running Your First Print
Assembly varies by printer model. Most budget machines require 30-60 minutes of setup. Follow the manufacturer’s instructions carefully, skipped steps cause problems later.
Leveling The Bed
Proper bed leveling is critical. The nozzle needs to sit at a consistent distance from the build surface across the entire print area. Too close and filament won’t extrude properly. Too far and prints won’t stick.
Printers with auto leveling handle this automatically. Manual leveling uses a piece of paper, slide it between the nozzle and bed, then adjust until there’s slight friction.
Preparing The First Print
- Download a simple test model (a calibration cube or benchy boat works well)
- Import the STL file into the slicer
- Apply the recommended settings for the filament type
- Slice the model and save to an SD card or send via USB/WiFi
- Load filament into the printer
- Start the print and watch the first layer
The first layer matters most. It should adhere firmly and look smooth. If it’s stringy or lifting, stop the print and re-level the bed.
Learning how to 3D printing succeeds starts with mastering this initial phase. Nail the first layer, and the rest usually follows.
Common Mistakes To Avoid
New printers make predictable errors. Avoiding these saves hours of frustration.
Skipping Calibration
Printers need calibration before serious use. Print temperature towers, retraction tests, and flow rate calibrations. These quick tests dial in settings for specific filament brands.
Ignoring Bed Adhesion
Prints that pop off mid-job waste time and material. Clean the bed with isopropyl alcohol before each print. Use glue stick or hairspray on glass beds. Increase first layer bed temperature by 5°C for stubborn materials.
Printing Too Fast
Speed is tempting. Resist it at first. Slower prints (40-50mm/s) succeed more often than rushed ones. Build speed gradually as skills improve.
Choosing Complex First Projects
That articulated dragon looks amazing. It’s also a terrible first print. Start with simple geometric shapes. Graduate to more difficult models after understanding how to 3D printing settings affect outcomes.
Neglecting Maintenance
Printers need regular care. Tighten belts, lubricate rods, and clean nozzles. A five-minute checkup weekly prevents bigger problems down the road.


