
3D printing tools can make or break a project. The printer itself is just the starting point. What happens before, during, and after a print determines whether makers get clean results or frustrating failures.
From slicing software to scrapers, the right 3D printing tools streamline every stage of the process. Beginners often underestimate how much preparation, finishing, and maintenance matter. Experienced makers know better, they’ve built entire toolkits around these tasks.
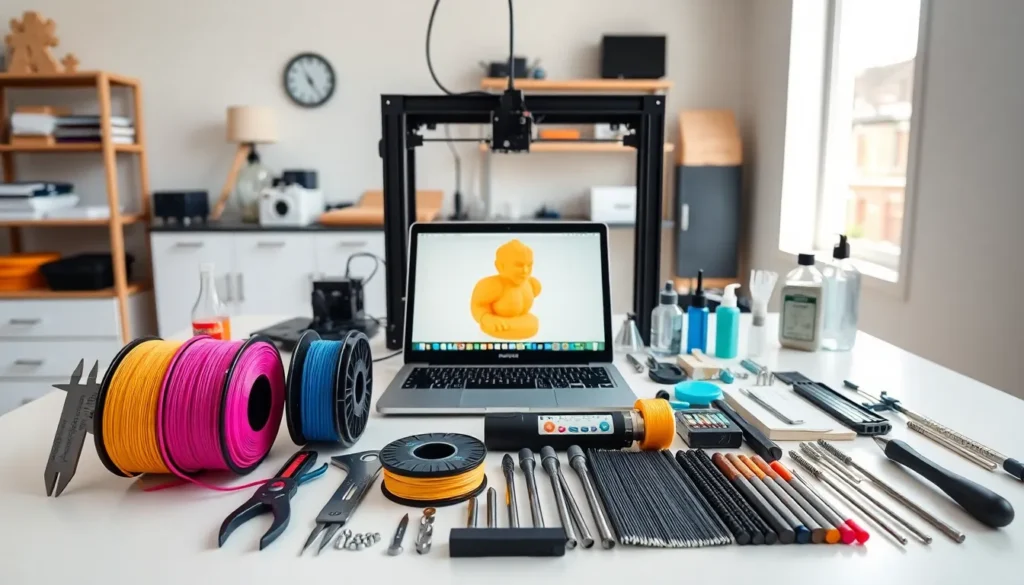
This guide covers the essential 3D printing tools every maker should have on hand. Whether someone is setting up their first workstation or upgrading an existing setup, these tools will improve print quality and save time.
Table of Contents
ToggleKey Takeaways
- Essential 3D printing tools span four categories: preparation, bed adhesion, post-processing, and maintenance equipment.
- Slicing software like Cura and PrusaSlicer is one of the fastest ways to improve print quality by controlling layer height, infill, and supports.
- Proper bed preparation with IPA cleaning and adhesion aids prevents warping and failed prints caused by first-layer adhesion issues.
- Post-processing tools like flush cutters, sandpaper, and filler primer transform raw prints into professional-quality finished products.
- Regular maintenance using hex keys, lubricants, and nozzle cleaning tools extends printer life and ensures consistent results.
- Investing in quality 3D printing tools—from digital calipers to spare nozzles—saves time and reduces frustrating print failures.
Preparation and Design Tools
Good prints start long before filament touches the build plate. Preparation and design tools help makers plan, model, and slice their projects with precision.
CAD Software stands at the foundation of any 3D printing workflow. Programs like Fusion 360, TinkerCAD, and Blender let users create original designs from scratch. For beginners, TinkerCAD offers a simple drag-and-drop interface. More advanced makers often prefer Fusion 360 for its parametric modeling capabilities.
Slicing Software converts 3D models into printer-readable instructions. Popular slicers include Cura, PrusaSlicer, and Simplify3D. These 3D printing tools control layer height, infill density, support structures, and print speed. Learning slicer settings is one of the fastest ways to improve print quality.
Digital Calipers are indispensable for measuring filament diameter, checking print dimensions, and verifying tolerances. A good set of calipers costs around $15-30 and pays for itself quickly. Makers use them to confirm that printed parts match their intended specifications.
SD Cards and USB Drives transfer files from computer to printer. While some printers connect via Wi-Fi or Ethernet, many still rely on removable media. Having a dedicated SD card for 3D printing prevents file management headaches.
These preparation tools form the backbone of successful printing. Skipping any of them creates problems downstream.
Bed Adhesion and Surface Prep Essentials
First-layer adhesion causes more failed prints than almost any other issue. The right 3D printing tools for bed preparation eliminate warping, curling, and mid-print detachment.
Build Surface Materials vary based on printer type and filament choice. Glass beds provide a smooth finish and easy removal once cooled. PEI sheets offer excellent adhesion for PLA and PETG without additional adhesives. Magnetic flex plates let makers pop prints off with a simple bend.
Adhesion Aids help stubborn filaments stick. Glue sticks work well for PLA and are cheap to replace. Hairspray creates a thin tacky layer that grips most materials. For ABS and other high-temperature filaments, specialized bed adhesives like Magigoo or 3DLac provide stronger hold.
Isopropyl Alcohol (IPA) cleans build surfaces between prints. Oils from fingerprints, dust, and residue from previous prints reduce adhesion. A quick wipe with 90%+ IPA restores the surface. Makers should keep a spray bottle and lint-free cloths at their workstation.
Painter’s Tape serves as both a build surface and a masking tool. Blue painter’s tape provides decent adhesion for PLA and peels off cleanly. Some makers also use it to protect parts of the build plate during specialized prints.
Spatulas and Scrapers remove finished prints without damaging the bed. Flexible metal spatulas work on glass and smooth surfaces. Plastic scrapers are safer for PEI and coated beds. A sharp scraper is one of the most-used 3D printing tools in any workshop.
Proper bed preparation takes just a few minutes but prevents hours of troubleshooting.
Post-Processing and Finishing Tools
Prints rarely come off the bed ready to use. Post-processing tools transform raw prints into polished finished products.
Flush Cutters remove support material cleanly. These small snippers cut close to the surface without leaving large marks. Quality flush cutters cost under $20 and last for years with proper care.
Craft Knives and Deburring Tools clean up edges and remove small imperfections. X-Acto knives handle detailed work. Deburring tools smooth rough edges on functional parts. Both belong in every maker’s 3D printing tools collection.
Sandpaper and Sanding Sticks smooth layer lines and prepare surfaces for painting. Start with 120-grit for heavy material removal, then progress to 400-grit and higher for smooth finishes. Sanding sticks reach tight corners that flat sandpaper can’t access.
Files and Rasps shape and smooth larger areas quickly. Needle files work well on small parts. Larger flat and half-round files handle big surfaces. A set of mixed files covers most finishing needs.
Filler Primer and Paints hide layer lines completely. Automotive filler primer fills gaps and creates a smooth base. Acrylic paints adhere well to most filaments. For professional-looking results, makers apply multiple thin coats rather than one thick layer.
Heat Guns and Soldering Irons serve specialized finishing tasks. Heat guns can smooth PLA surfaces through controlled melting. Soldering irons join separate printed parts or add text and details.
Post-processing separates amateur prints from professional-quality work. The time investment pays off in final results.
Maintenance and Calibration Equipment
3D printers need regular maintenance to perform consistently. These 3D printing tools keep machines running smoothly and producing accurate results.
Hex Key Sets (Allen wrenches) tighten loose bolts and adjust components. Most printers use metric hex screws. A complete set from 1.5mm to 6mm covers nearly all maintenance tasks. Ball-end hex keys reach bolts at awkward angles.
Lubricants keep moving parts operating smoothly. PTFE-based dry lubricants work well on linear rails and lead screws. Silicone grease suits Z-axis screws. Makers should avoid WD-40, it attracts dust and gums up over time.
Feeler Gauges help with precise bed leveling. A 0.1mm feeler gauge provides consistent results across all four corners. This simple tool eliminates the guesswork from manual bed leveling.
Nozzle Cleaning Tools clear clogs and remove debris. Acupuncture needles or specialized cleaning filament push through blockages. Brass wire brushes clean the outside of the nozzle without scratching. Cold pulls (also called atomic pulls) remove stuck filament from inside the hotend.
Spare Nozzles prevent downtime. Nozzles wear out, especially when printing abrasive filaments like carbon fiber or glow-in-the-dark materials. Keeping spare 0.4mm nozzles on hand means a quick swap instead of waiting for shipping.
Multimeters troubleshoot electrical issues. Checking thermistor readings, heater cartridge resistance, and power supply voltage helps diagnose problems. Basic multimeters cost around $20 and prove invaluable for repairs.
Silicone Socks protect hotends from filament buildup. These cheap covers slip over the heater block and prevent plastic from sticking. They also improve temperature stability.
Regular maintenance extends printer life and prevents quality degradation. A well-maintained machine produces better prints with fewer failures.


